
Since I started offering wispy lashes in my salons, they’ve quickly become one of the most requested services.
I wanted to write this ultimate guide so that both lash artists and clients can learn everything there is to know about wispy eyelash extensions from what they are, how they are applied, styling, pricing, and more.
I know, it’s a lot to unpack, so let’s get started!
What Are Wispy Lashes?
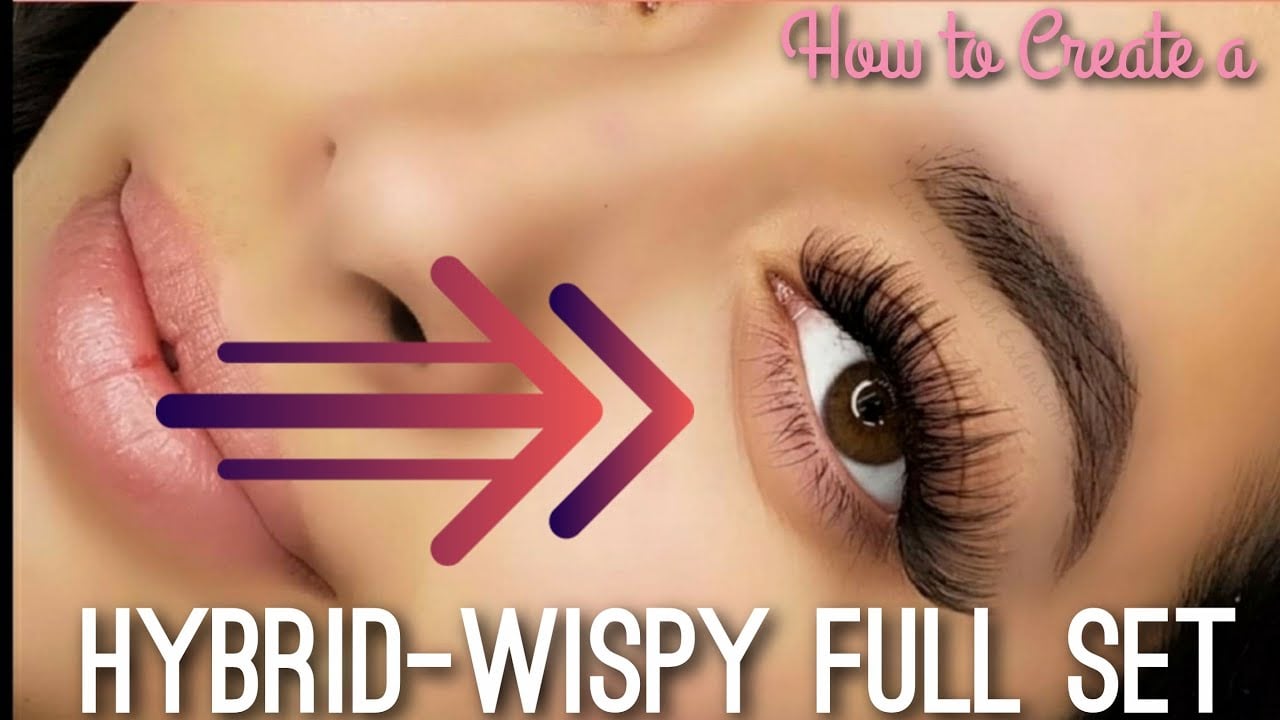
Wispy lashes is a style that gives your eyelashes a fluffy and soft appearance. Wispy eyelash extensions are created by using a combination of lash fans (which give the fluffy look) and single strands of lashes for spikes (which give the wispy or wet look).
There are 3 ways to achieve wispy eyelashes:
- Using a strip of wispy lashes (fake eyelashes).
- Using mascara and attempting to replicate a wispy look.
- Using eyelash extensions.
In this article, I’ll focus strictly on the eyelash extension method because, in my opinion, it’s the only way to achieve a truly noticeable, beautiful, and long-lasting wispy look.
The mascara method is simply a sub-part alternative when it comes to the end result. Strip lashes are O.K. but not sustainable in the long run. Moreover, they don’t give you the natural finish that individual lash extensions do.
What Are the Wispy Lash Techniques?
1- Wispy Classic Lashes
Did you know that you can totally create a wispy look using only classic individual extensions?
For example, one thing I really like to do when doing a cat-eye style is to add spikes using 11 or 12 mm extensions throughout the lash line. These spikes should be about 2 mm longer than the rest of the extensions to give a subtle wispy effect.
Yegi is a talented lash artist that made an awesome video tutorial using only classic lashes (no volume fans needed). Check it out!

2- Wispy Hybrid Lashes
For wispy hybrid lashes, you’ll continue using your classic lashes to create the spikes. However, you’ll use volume fans in between the classic lashes to create more density and fluffiness.
I like using 2D to 6D fans for these looks since they tend to be lighter and softer. The thickness depends upon the client’s natural lashes, but in general, I create my fans using 0.03 mm diameter extensions with a C, CC, or D curl.
Maria from Lash Therapy made an excellent video tutorial for this technique here.
3- Wispy Volume Lashes
Wispy volume lashes are done using only volume fans. The general concept and ideas remain the same (i.e. you want to add spikes to your lash map to create that wispy effect). However, you won’t be using any classic lashes here.
Instead, the spikes will be done by using a closed-volume fan!
This is probably the ultimate look for clients looking for a more dramatic, feathery look.
One thing to note is that it’s possible to do what’s called “wispy mega volume lashes”. To achieve it, simply use 7D to 12D volume fans between your spikes for an even more dramatic and fluffy result. Make sure you adjust the diameter of your extensions so that the volume fan is not too heavy for the natural lash.
And don’t forget to watch for the ANGLE of your spikes!
Jena Cash made a “lash with me” tutorial where she does the wispy look using only volume fans.
Wispy Eyelash Extension Styles
The most commonly requested styles for wispy lashes are natural, cat-eye and dolly.
- Natural wispy lashes: this is the most natural-looking style for wispy lashes. For this style, I always use classic lashes (not closed fans) to create the spikes. Then, I follow the lengths of the client’s natural lashes and extend them by 2 mm using 2D up to 5D volume fans. If the client wants something even more natural-looking, I’ll use classic extensions instead of fans between my spikes.
- Cat-eye wispy lashes: For this style, you would create a cat-eye style as you would normally do (i.e. using shorter extension lengths for the inner corner of the eye and gradually increasing the lengths towards the outer corner). However, you spice it up by adding some longer spikes at proportional distances across the lash line.
- Kim K wispy lashes: As the name suggests, this style is inspired by Kim Kardashian. A typical lash map would look like this. Start by applying 7 to 10 spikes per eye. They should be 2 mm longer than the main layer or even 3 mm if the natural lash can support it. Then, add the volume fans. A good place to start is to use 7 to 9 mm fans for the inner corner and go up to 10 mm fans for the outer corner.
How to Apply Wispy Eyelash Extensions?
There’s no denying that creating a beautiful set of wispy lashes is more challenging that your regular classic or even volume lashes. They required more “freestyling” from the artist and a clear vision of what the set will end up looking like.
having said that, it’s not rocket science. I usually boil it down to 3 main principles:
1- Create a Wispy Lash Map
Making sure you have a solid lash map is a recipe for success when you first start dabbling with wispy eyelash extensions.
First, decide where to put the spikes. The most popular lash lengths are 10-12 mm. Then choose your fans. Try to keep your fans 2 mm shorter than the spikes for the middle portion of the eye and 1 mm shorter for the outer corners of the eye.
As for the curls, the B, C, CC, and D curls are the most popular ones I use. Don’t be afraid to experiment with the curls!
Marlenz did a great lash map video tutorial for beginners who want to get started with this technique. Check it out below!
2- Apply the Wisps First
I always recommend applying the wisps (or spikes) first before moving to the volume fans. This will give you a better sense of how to space out the volume fans and achieve an overall more balanced look.
I typically apply 6 to 10 spikes per eye. This is what’s referred to as the “first layer”. Also, start from the inner corner of the eye and work your way toward the outer corner.
Try to keep your spikes 2 to 3 mm longer than the main layer.
One useful try is to apply to spikers next to each other. That way, if the client loses a spike, the overall design remains intact.
3- Apply the Volume Fans
Now it’s time to move on to the volume fans. The fans will be added between the spikes to add thickness to the lash line. This is commonly referred to as the “second layer”.
I generally stick with smaller fans. For example, I like to use 2-6D fans with a thin diameter of 0.03 mm.
I also suggest you only use a handmade lash fan which allows alternating lash lengths easily. Using premade fans goes against the freestyle spirit we are going for.
That’s it!
Carly from LivBay Lash did an excellent video tutorial on this. Check it out below!
How Much Do Wispy Lash Extensions Cost?
Expect to pay anywhere from $100 to $250 for a full set of wispy lash extensions and $80 to $150 for a refill.
They are always more expensive than a standard classic set since the lash artist needs to master several techniques. This is only reserved for experienced stylists who already perform classic & volume lashes flawlessly.
Pro Tip: If you want to know more about pricing, check out my research on the average eyelash extension cost here!
How Long Do Wispy Eyelash Extensions Last?

Because wispy lashes are created using classic and/or volume lashes, they will last as long as classic and volume lashes last respectively.
So, what does that mean?
After two weeks, you can expect 75% of the classic extensions and 80% of the volume lashes to still be attached.
My clients usually come for refills after 3 or 4 weeks.
I’ve written an entire guide on how long lash extensions last right here.
The Bottom Line
Wispy lashes have taken the world by storm and I’ve definitely this trend go upward. I think it’s there to stay.
In a nutshell, this style is done by combining “spikes” or “Wisps” with volume fans to achieve a full yet fluffy look.
I really enjoy creating this style for my clients since it allows me to really play around with various lengths and truly customize the lashes.
If you have any questions or comments, please let me know below! I always love to hear from you.
– Asako 🙂
Additional Readings on DivineLashes.ca: If you want to know more about the other lash techniques you can choose from, make sure to read my guide on classic lashes vs hybrid lashes vs volume lashes. Also, choosing the right eyelash extension style is easy once you know what looks good for your particular eye shape!


